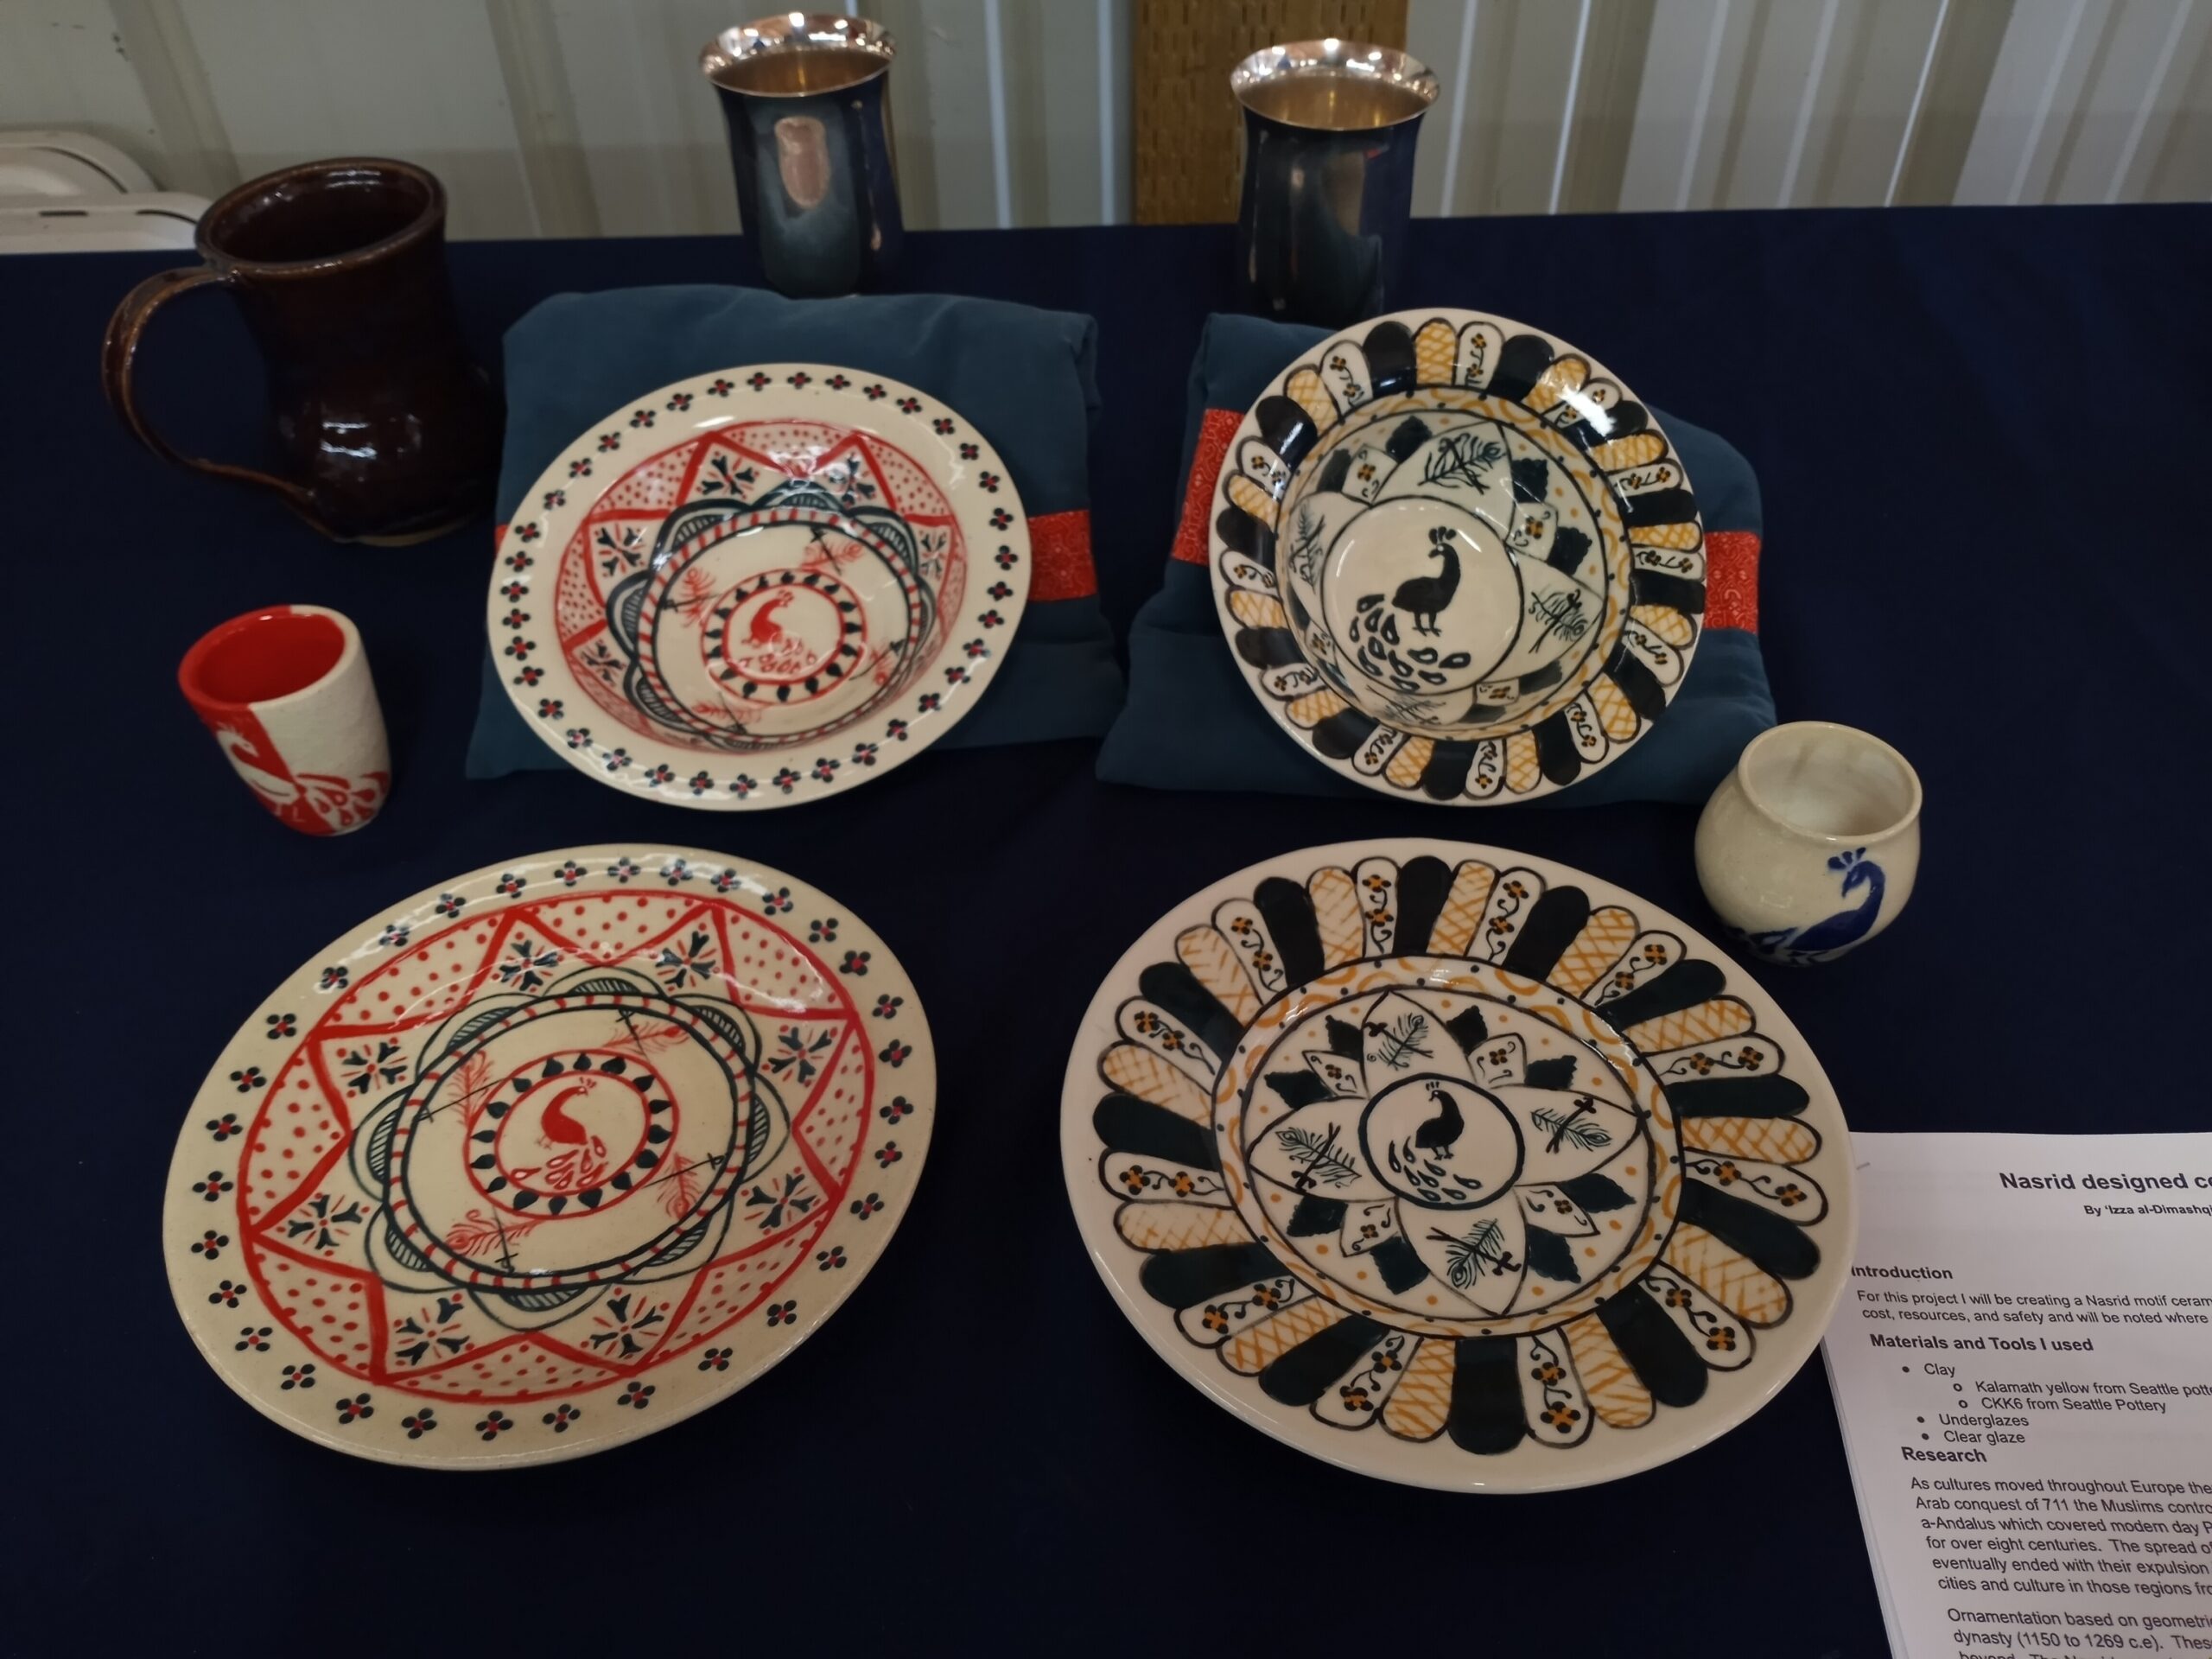
Once everyone knows you make pottery, there are more eyes and interest in what your food is being served or even eaten on.
Recently my husband I have been asked more then once why the plates we use are wooden and not pottery. For camping wooden plates make more sense, but for fancy dinners and feasts I admit it was just for lack of not making something for us. If you are a crafter you know more often then not you get so focused on making things for others you tend to forget to make yourself anything.
I decided to use the Arts and Sciences competition hosted by our local SCA group as an excuse to right this wrong and get an entry in at the same time.
My research tends to go in waves and at that time I was focusing on Nasrid pottery. Nasrid ceramic pieces were bisque fired and then decorations were drawn with colored lead based glazes onto a white lead glazed surfaces before firing again. Another final firing could be added following the addition of lusters and other metals to produce metallic sheens in the pottery. These ceramics were heavily exported This decoration style began to be imitated by Valencian potters using their own techniques and similar designs were soon found throughout Europe.
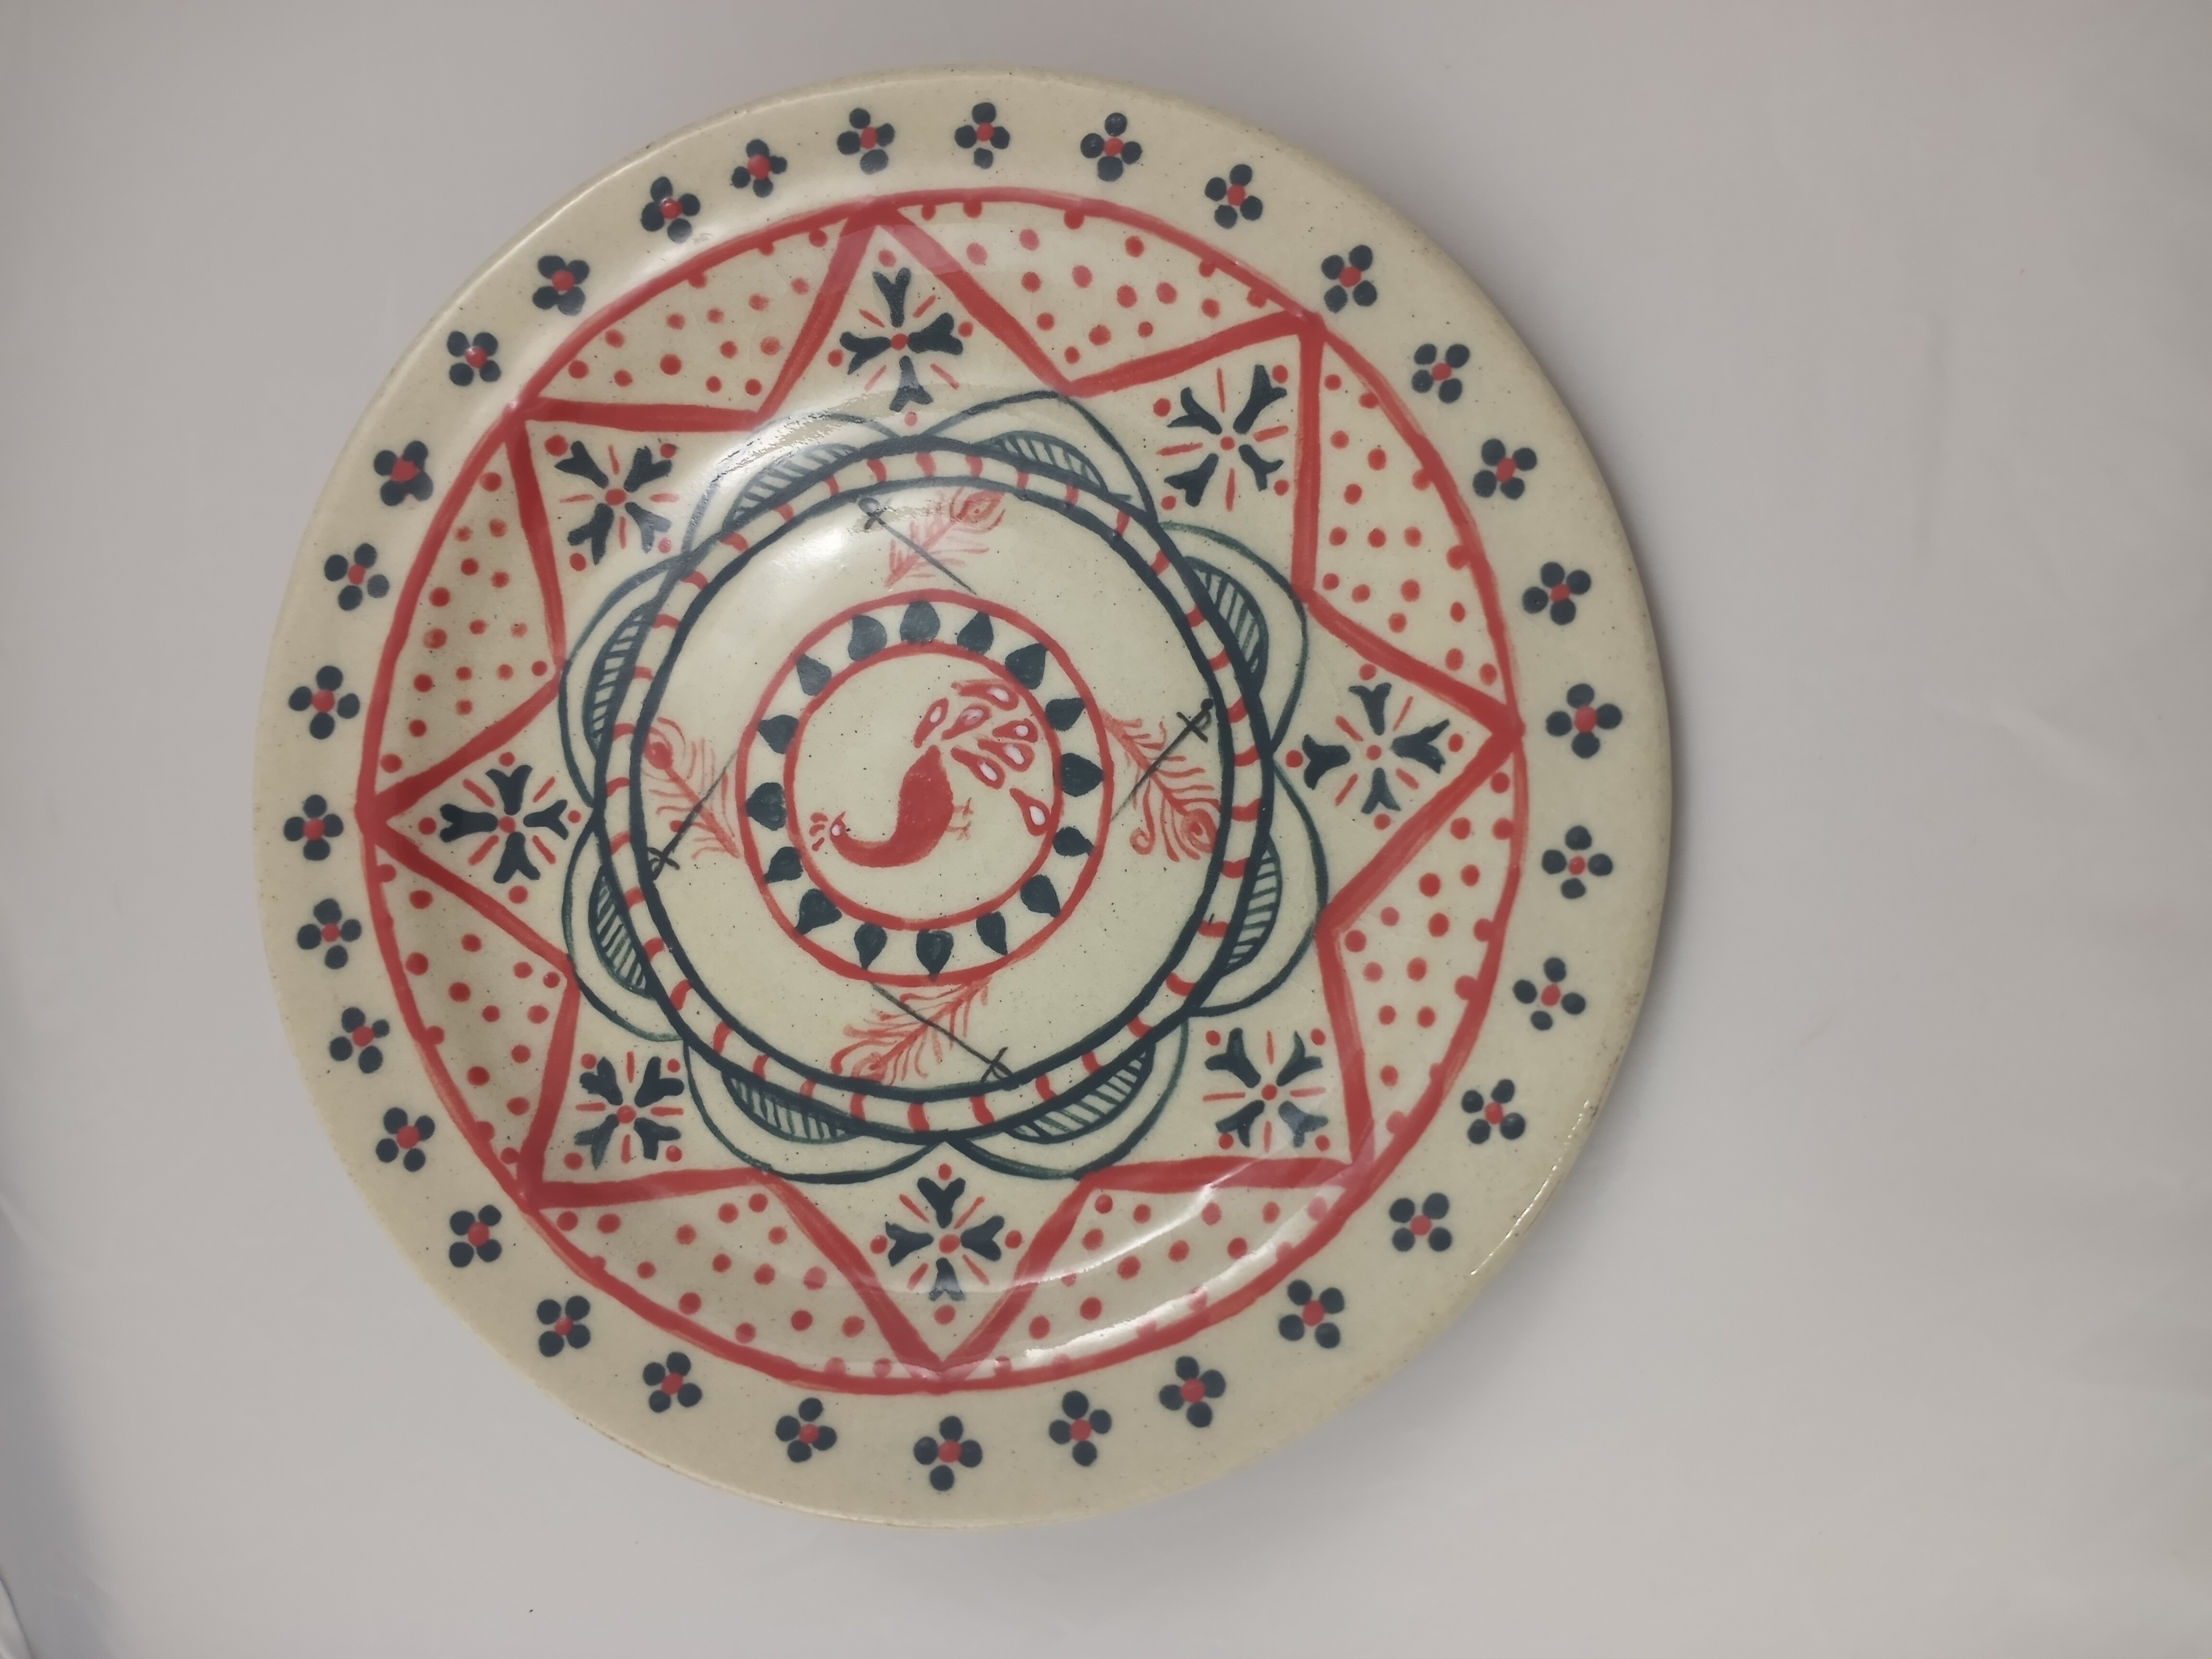
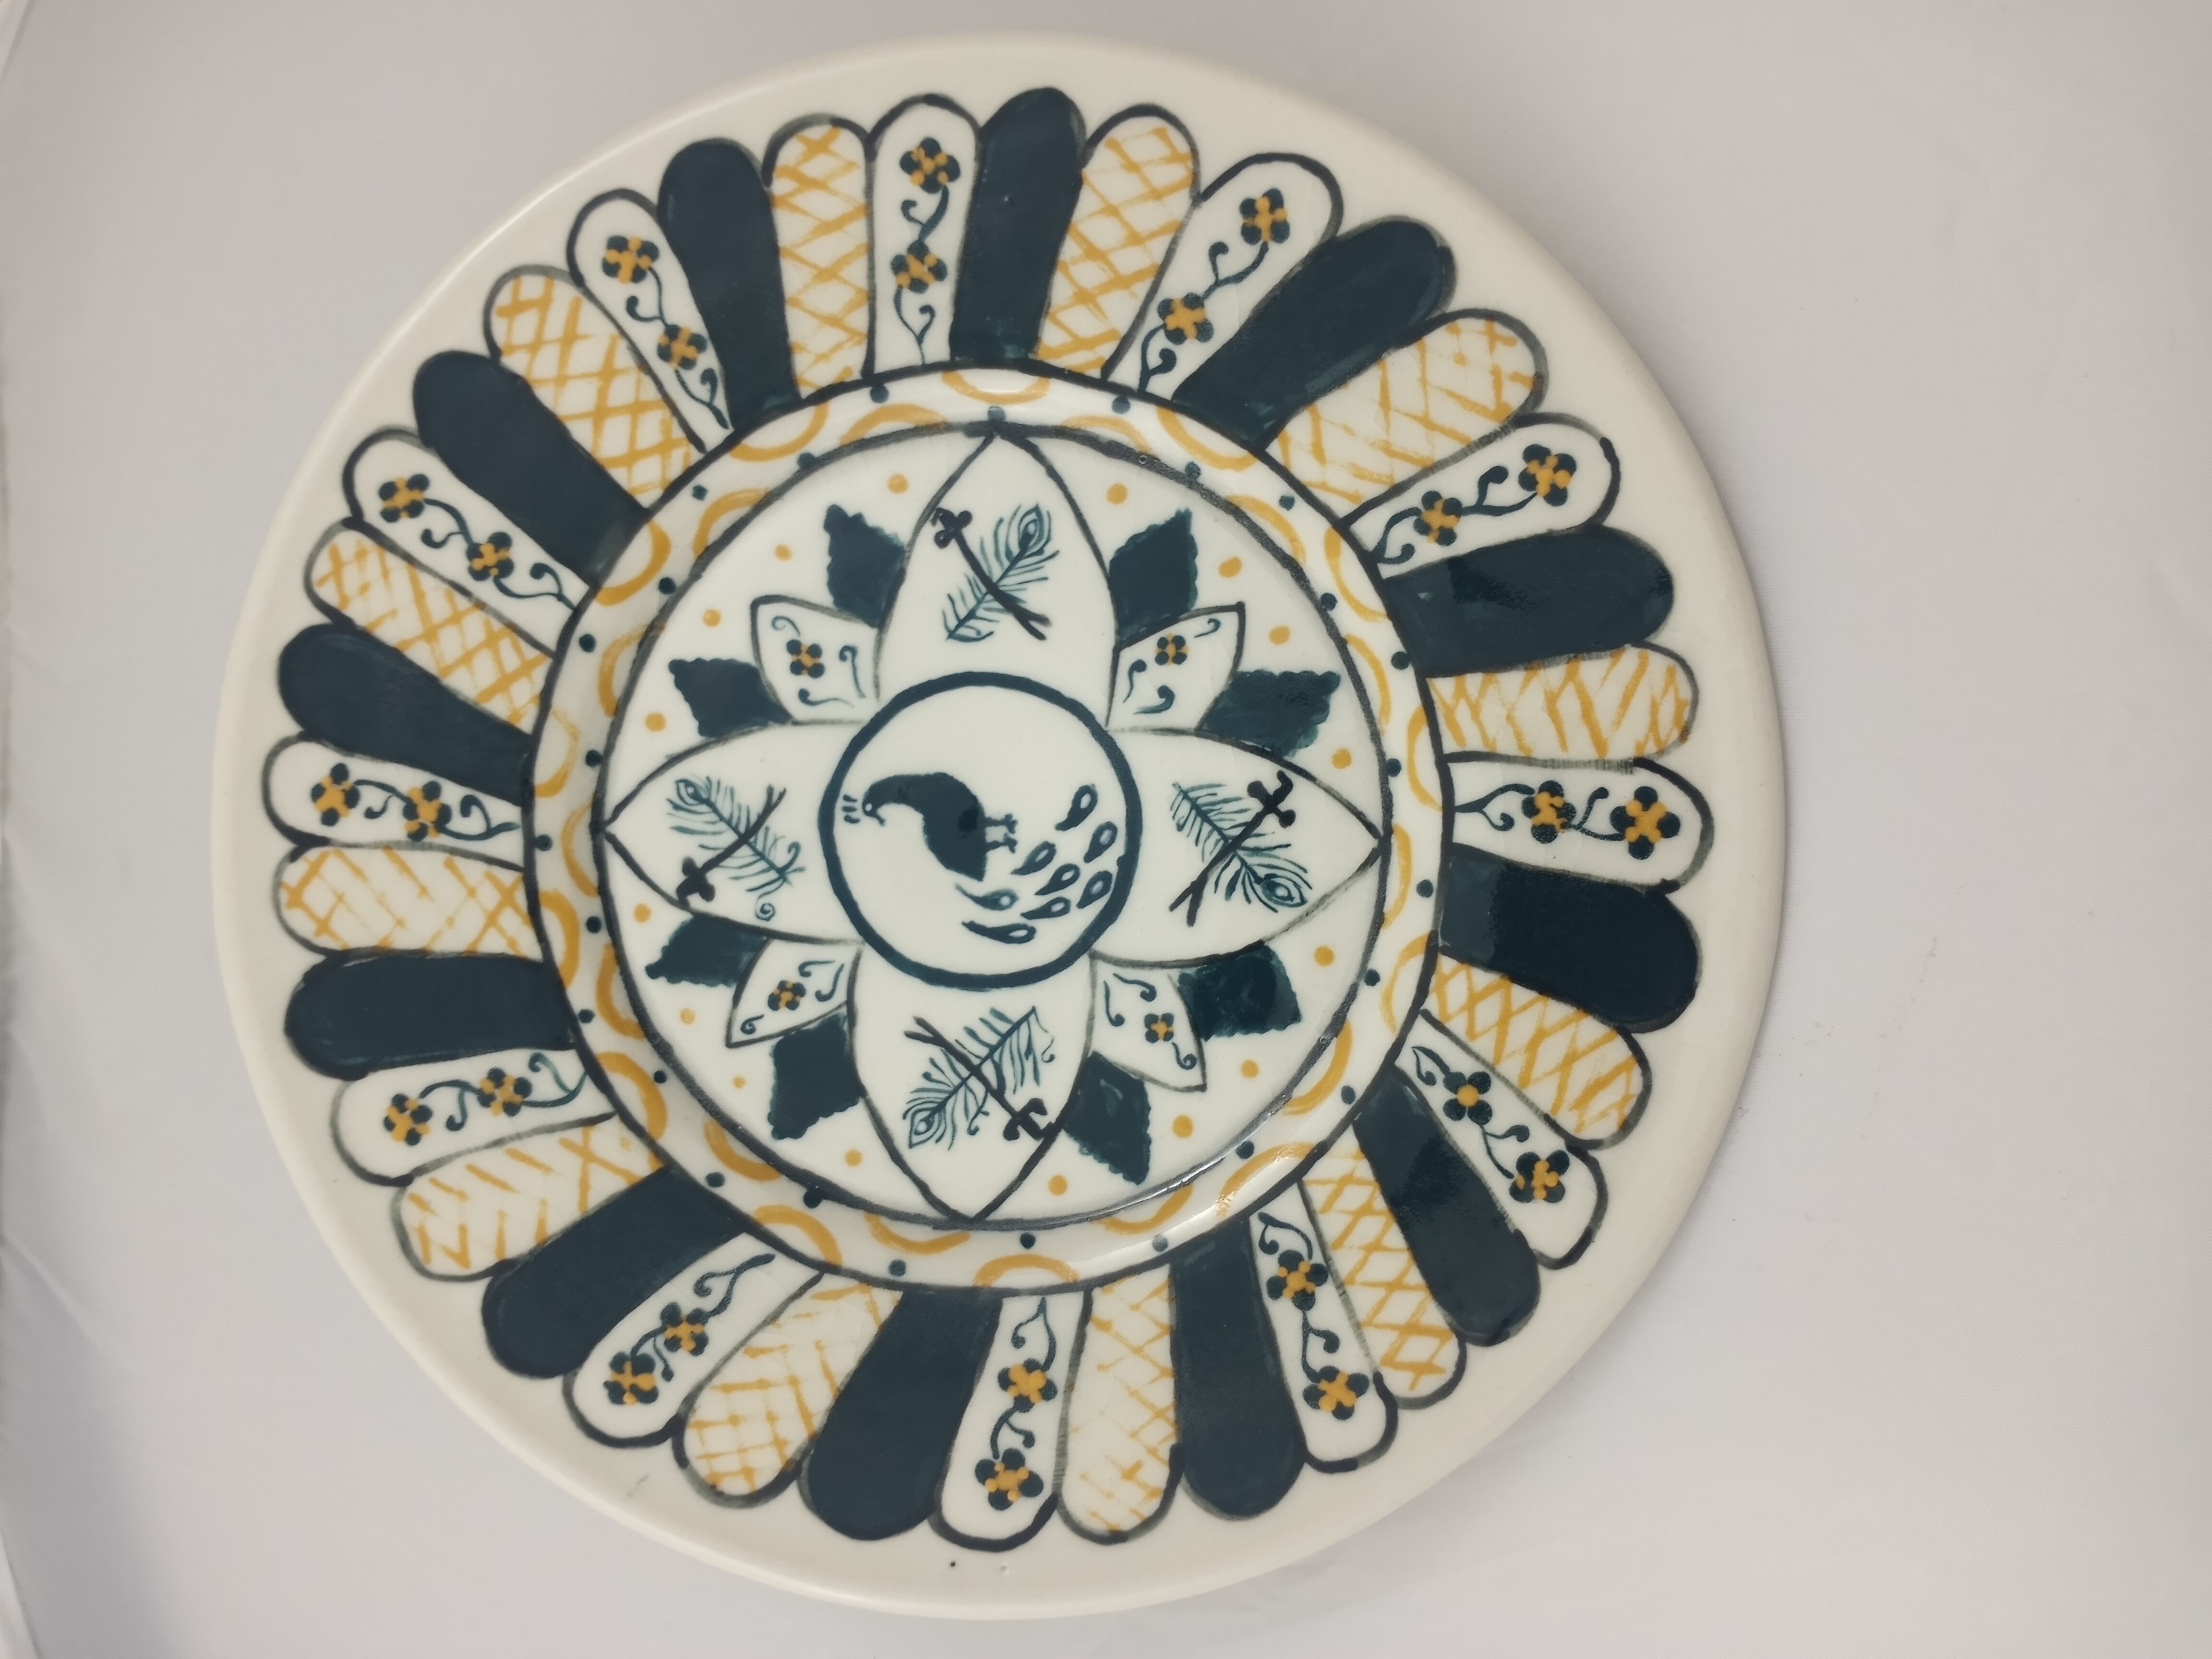
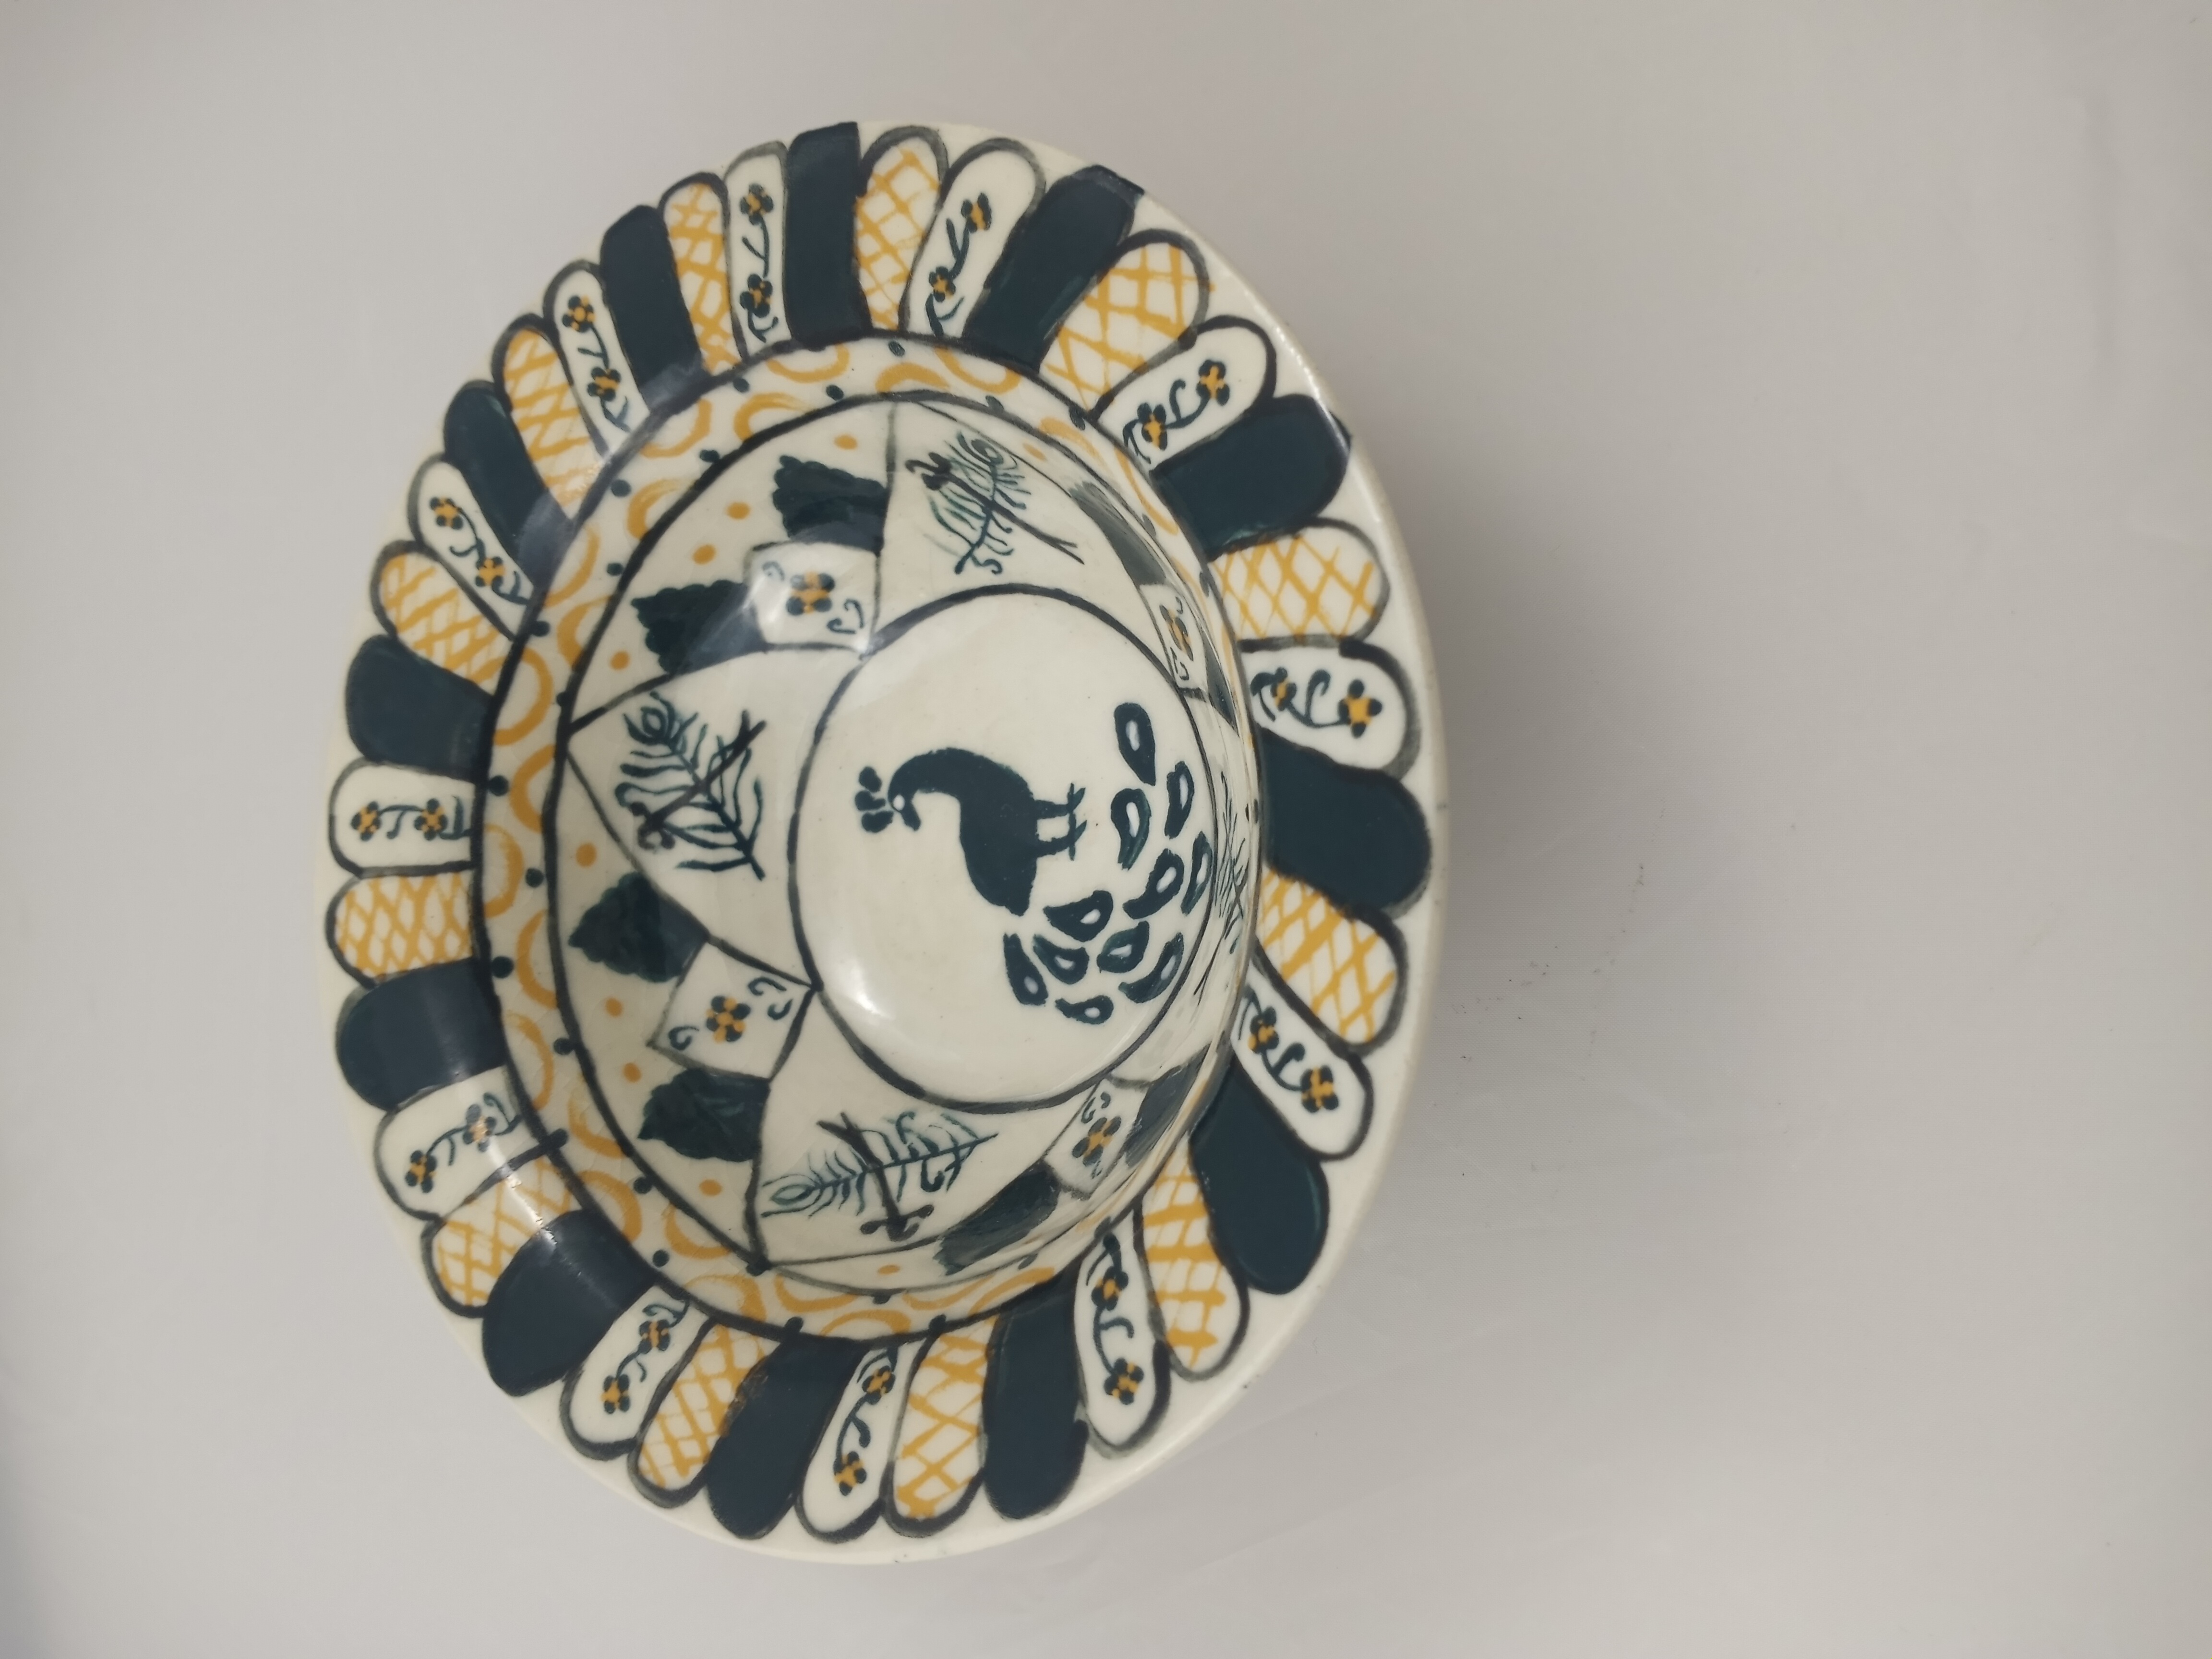
Lead is not really a desirable eating surface and I wanted to be able to put the pottery in the microwave if needed so both of those items were right out, so I decided to use underglaze on white stoneware to get a similar if not metallic luster look. For the main theme I used Peacocks as my husband’s symbol is a red peacock and mine is a white.
Ornamentation based on geometric, plant, and floral motifs mark Nasrid pottery making the initial planning and outlining of the designs essential on the pieces. For my husband’s pieces I choose styles that would be very common in Spain during that period emphasizing the geometric shapes and even a stylized cross (plate and bowl 1). For my designs I focused more on common Ottoman themes of nature and flowers and repeating softer shapes (plate and bowl 2).


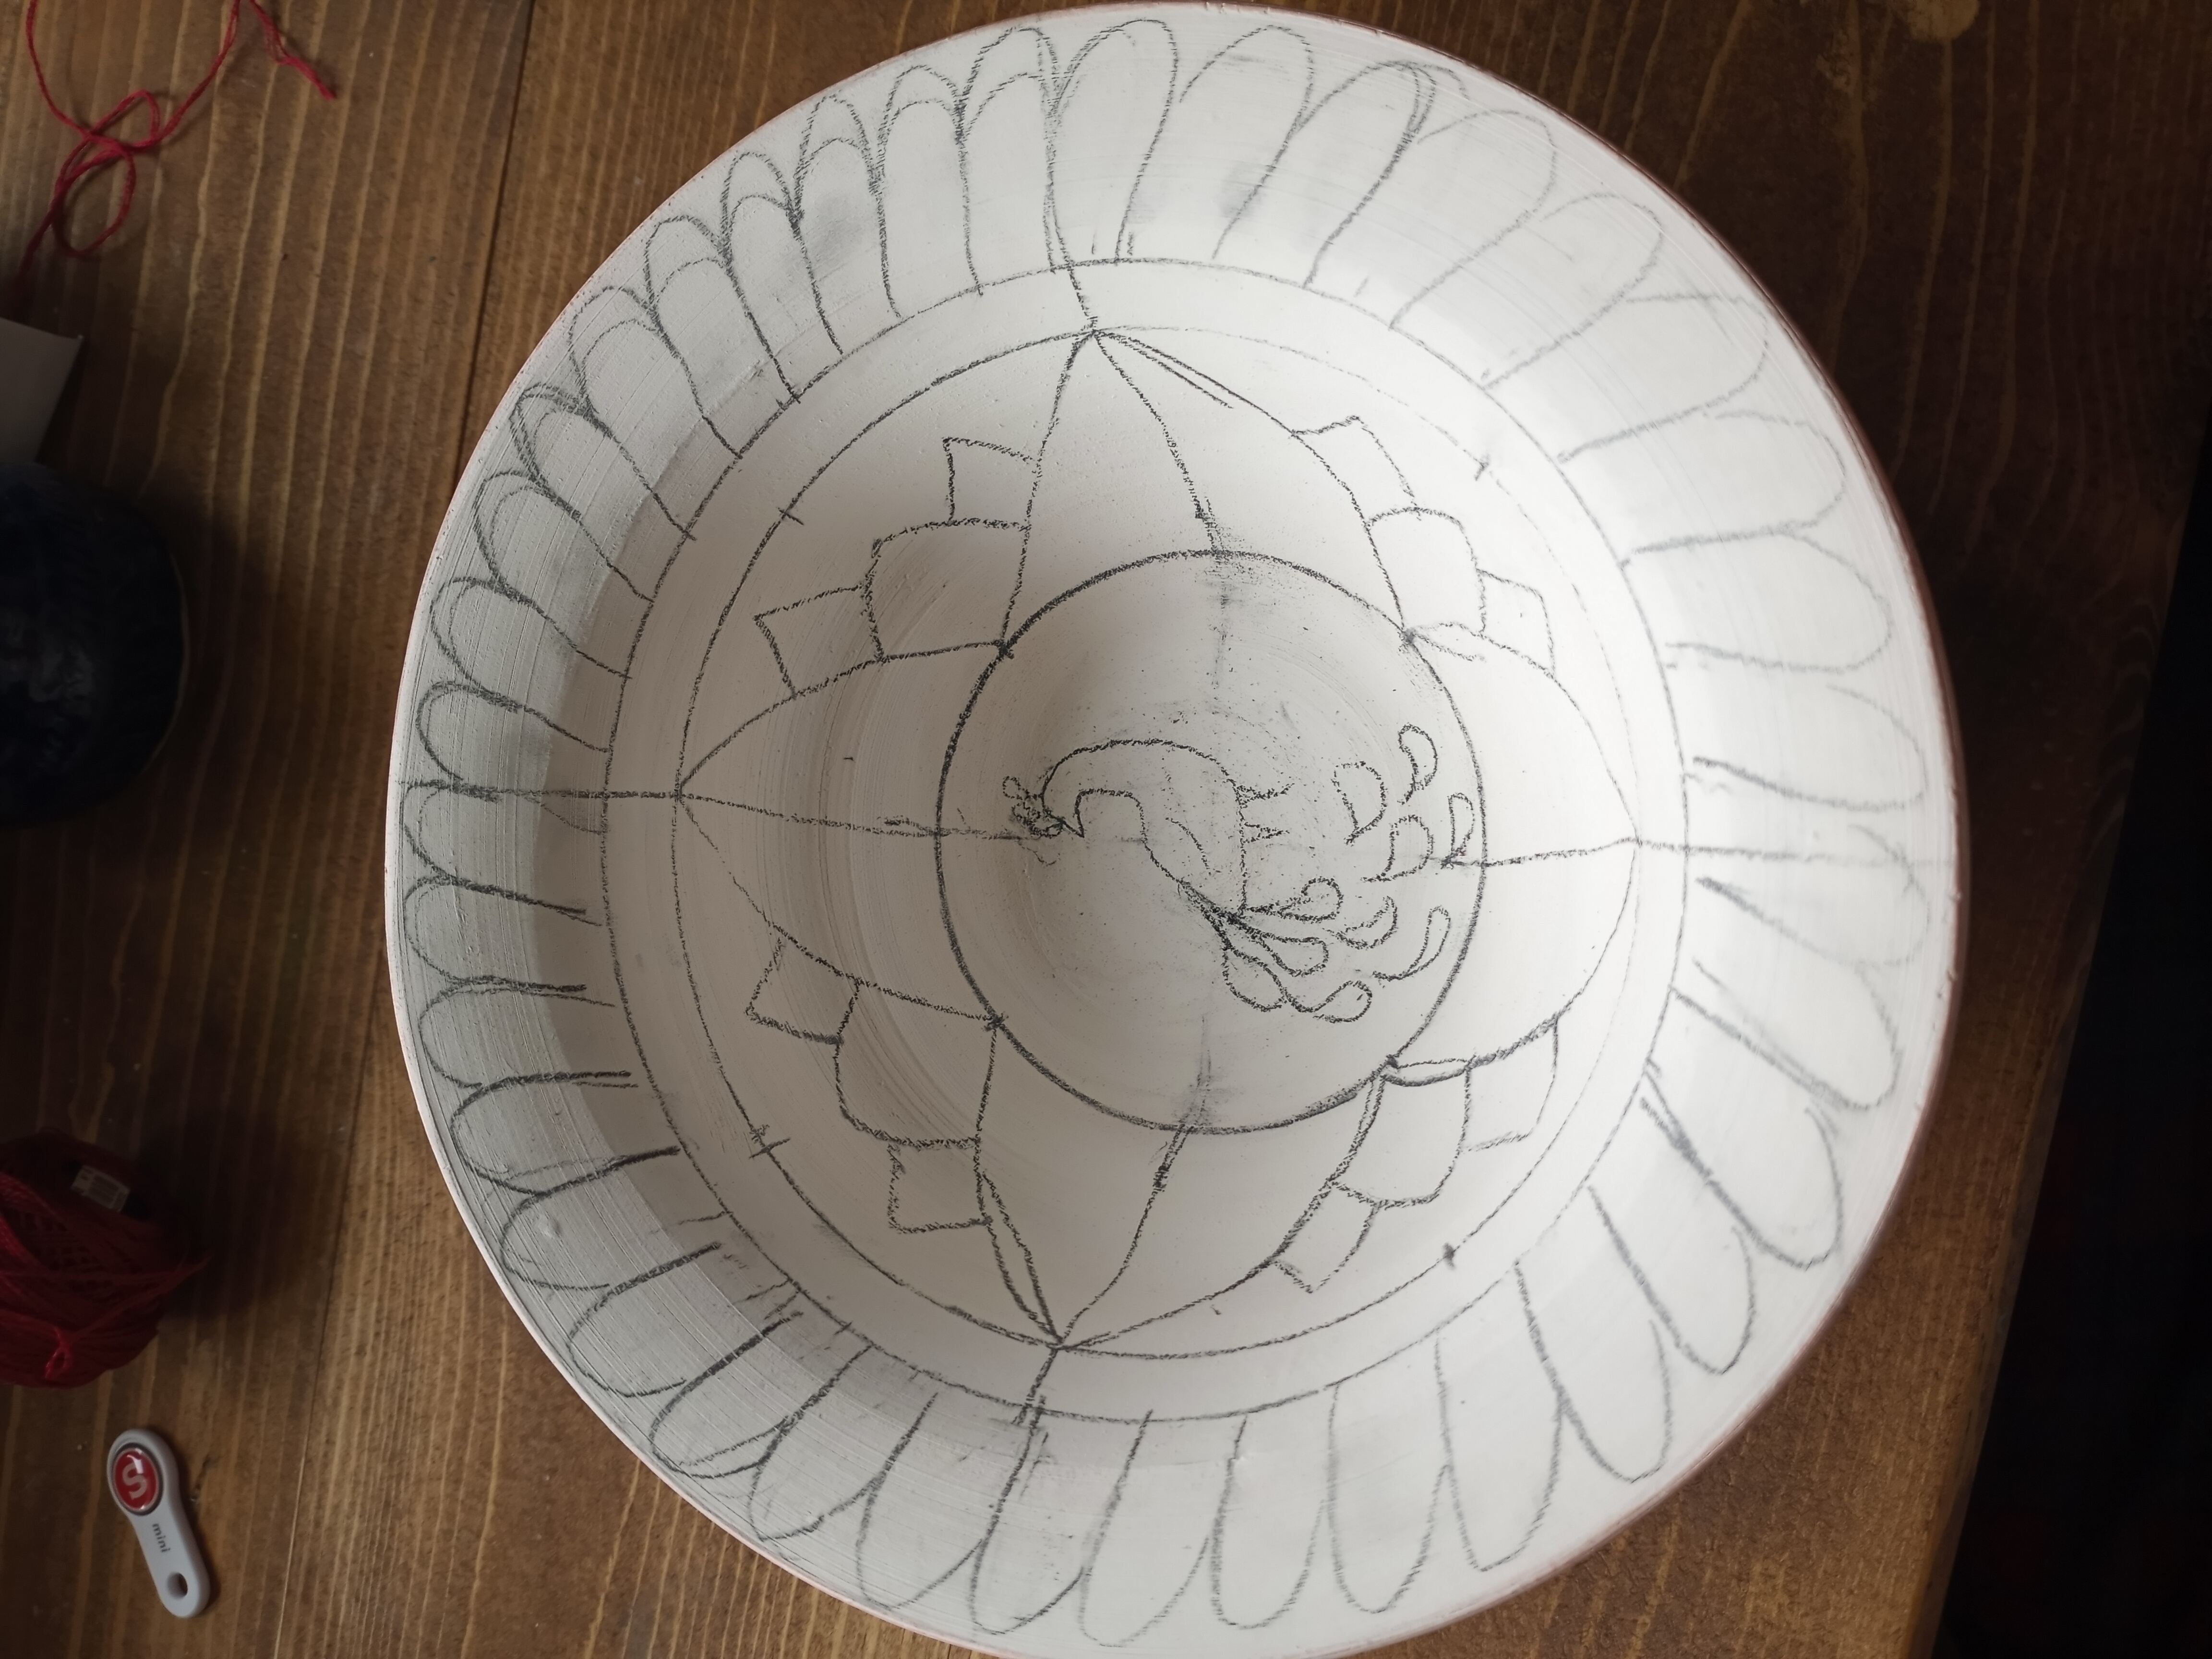
After the basic shapes are on there and the patterns are ready now is the time for underglaze. I have experimented with different brands in the last few years and I have found that personally I prefer Coyote underglazes, while they don’t have some of the variety and vibrancy of Amaco, they stay true to color in a larger range of firing and for pieces which outlining is necessary they don’t run.
I paint my pottery when they are in the greenware stage, meaning they have not yet been fired. They are more fragile during this phase, but I can “erase” the colors by scratching off, I can add detailed lines using the Sgraffito technique, and the colors adhere during the first fire and have less chance of moving during the glaze firing.
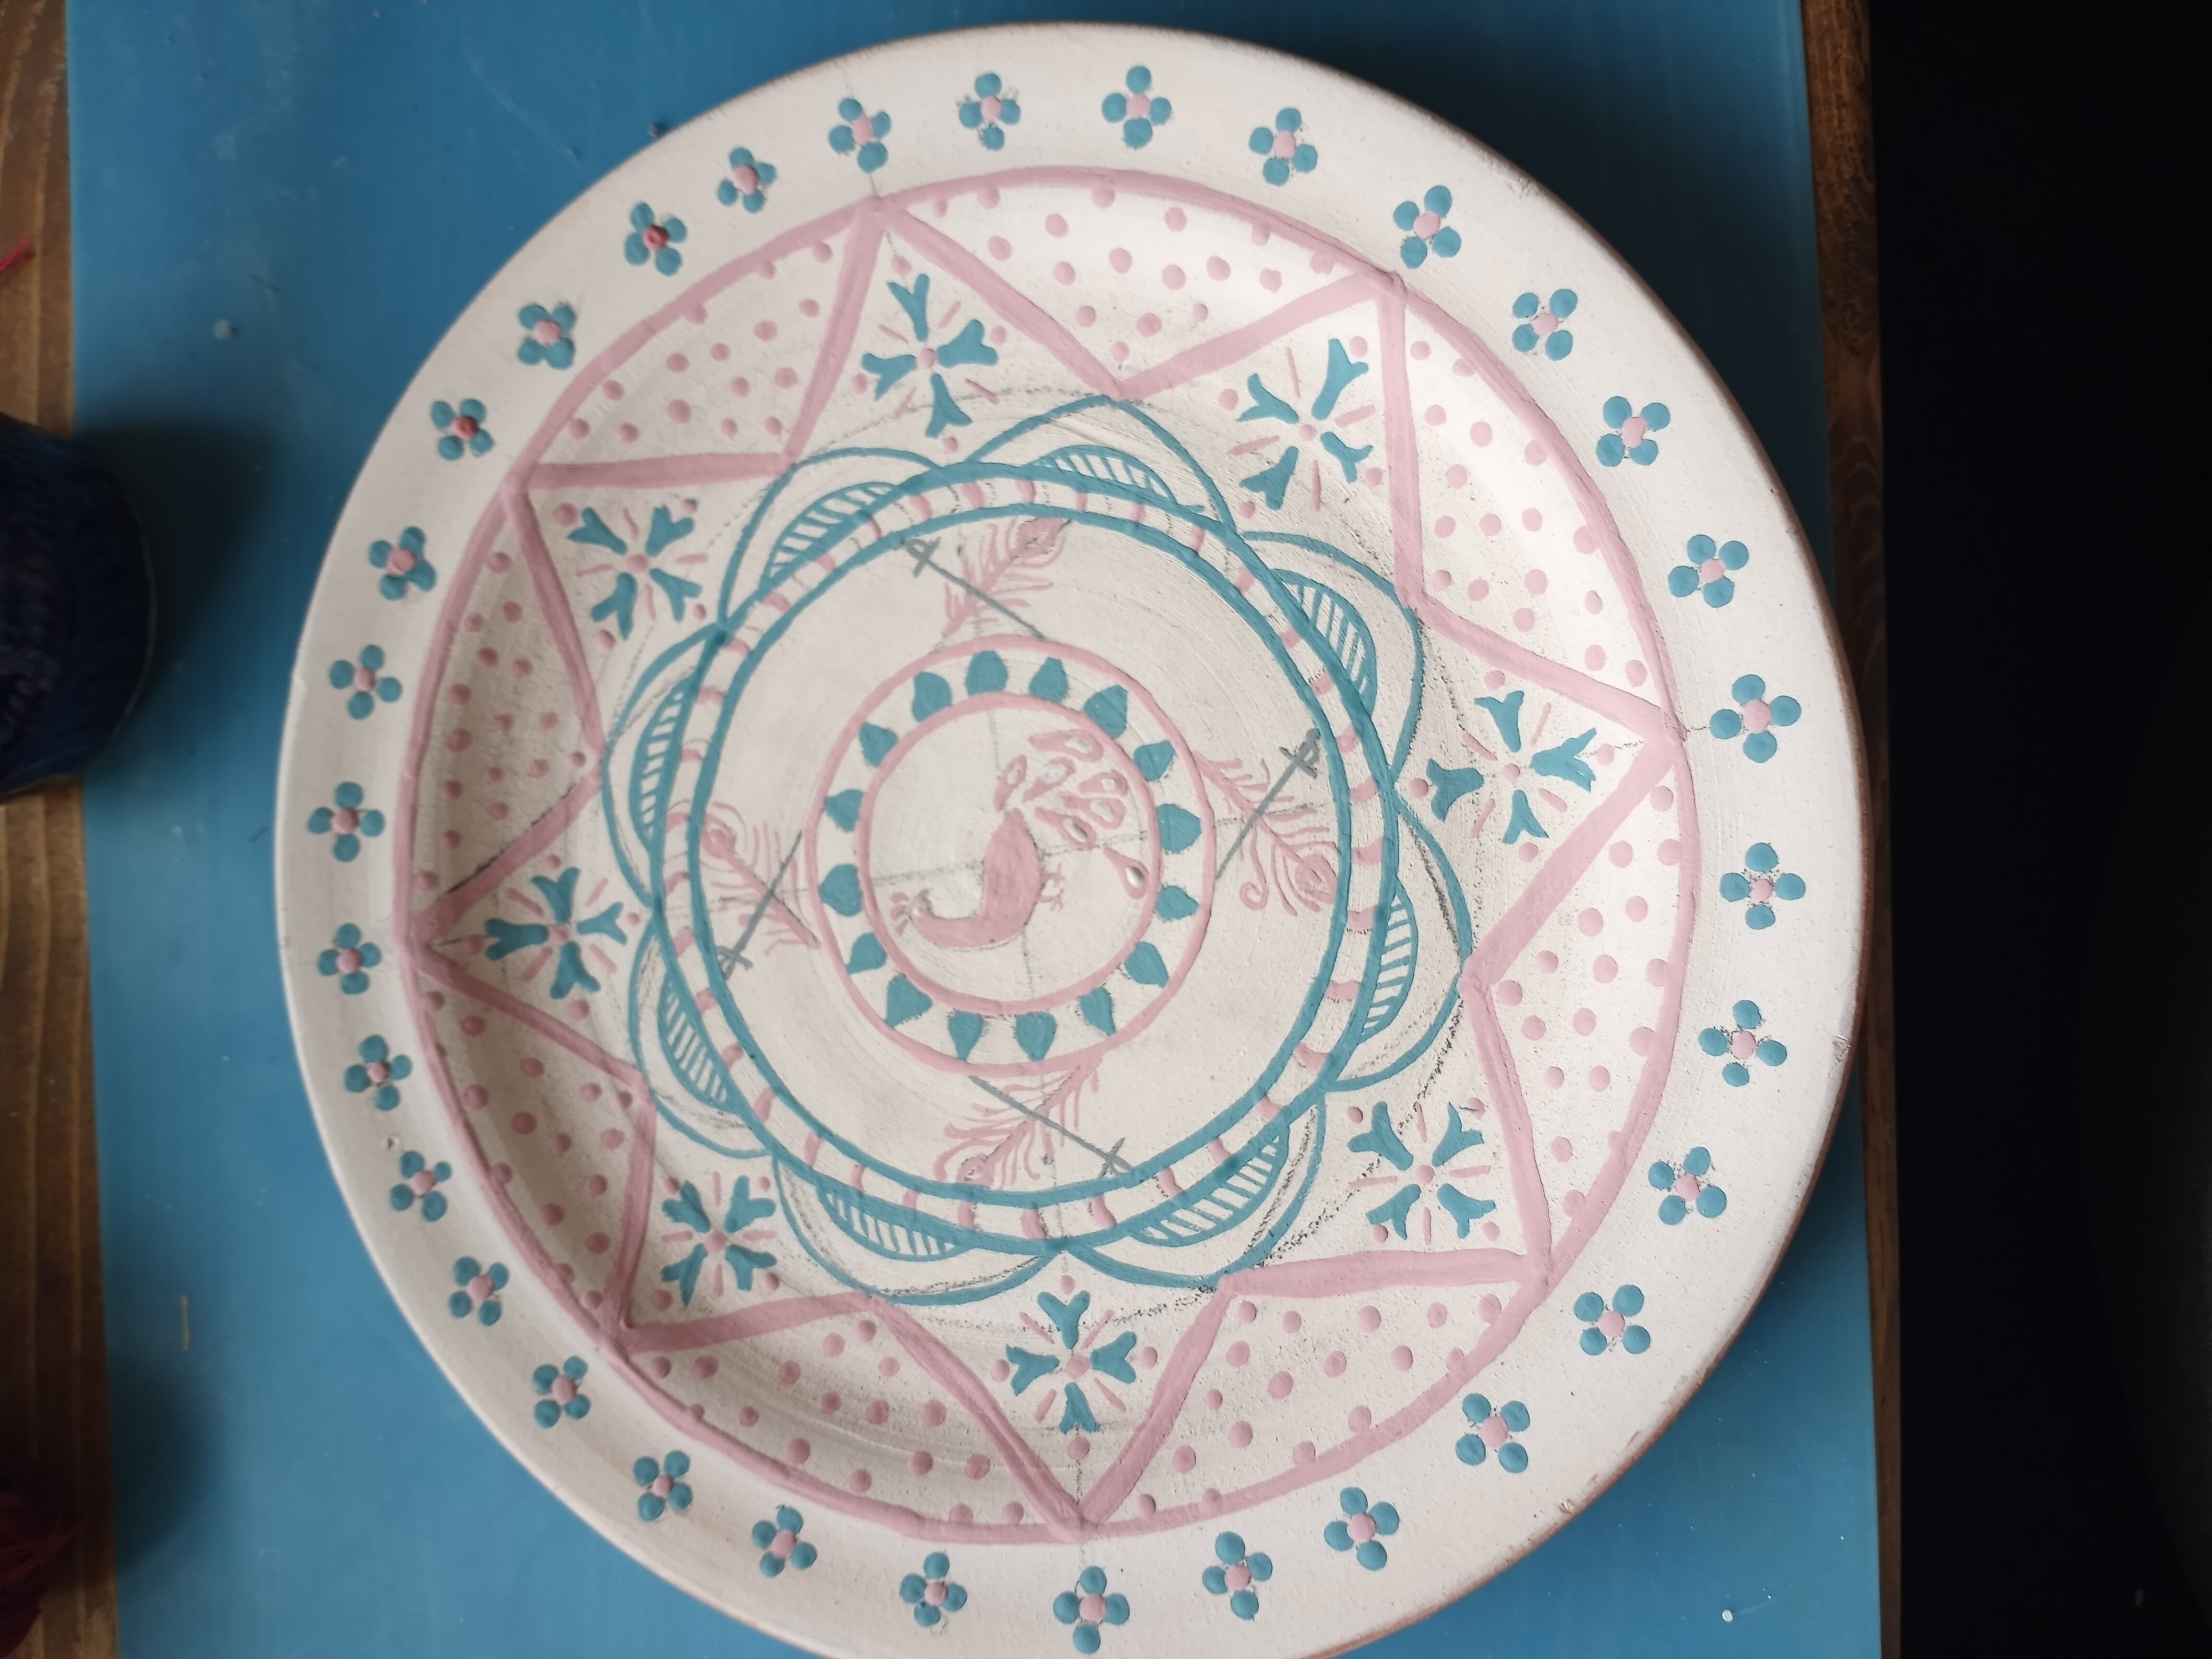
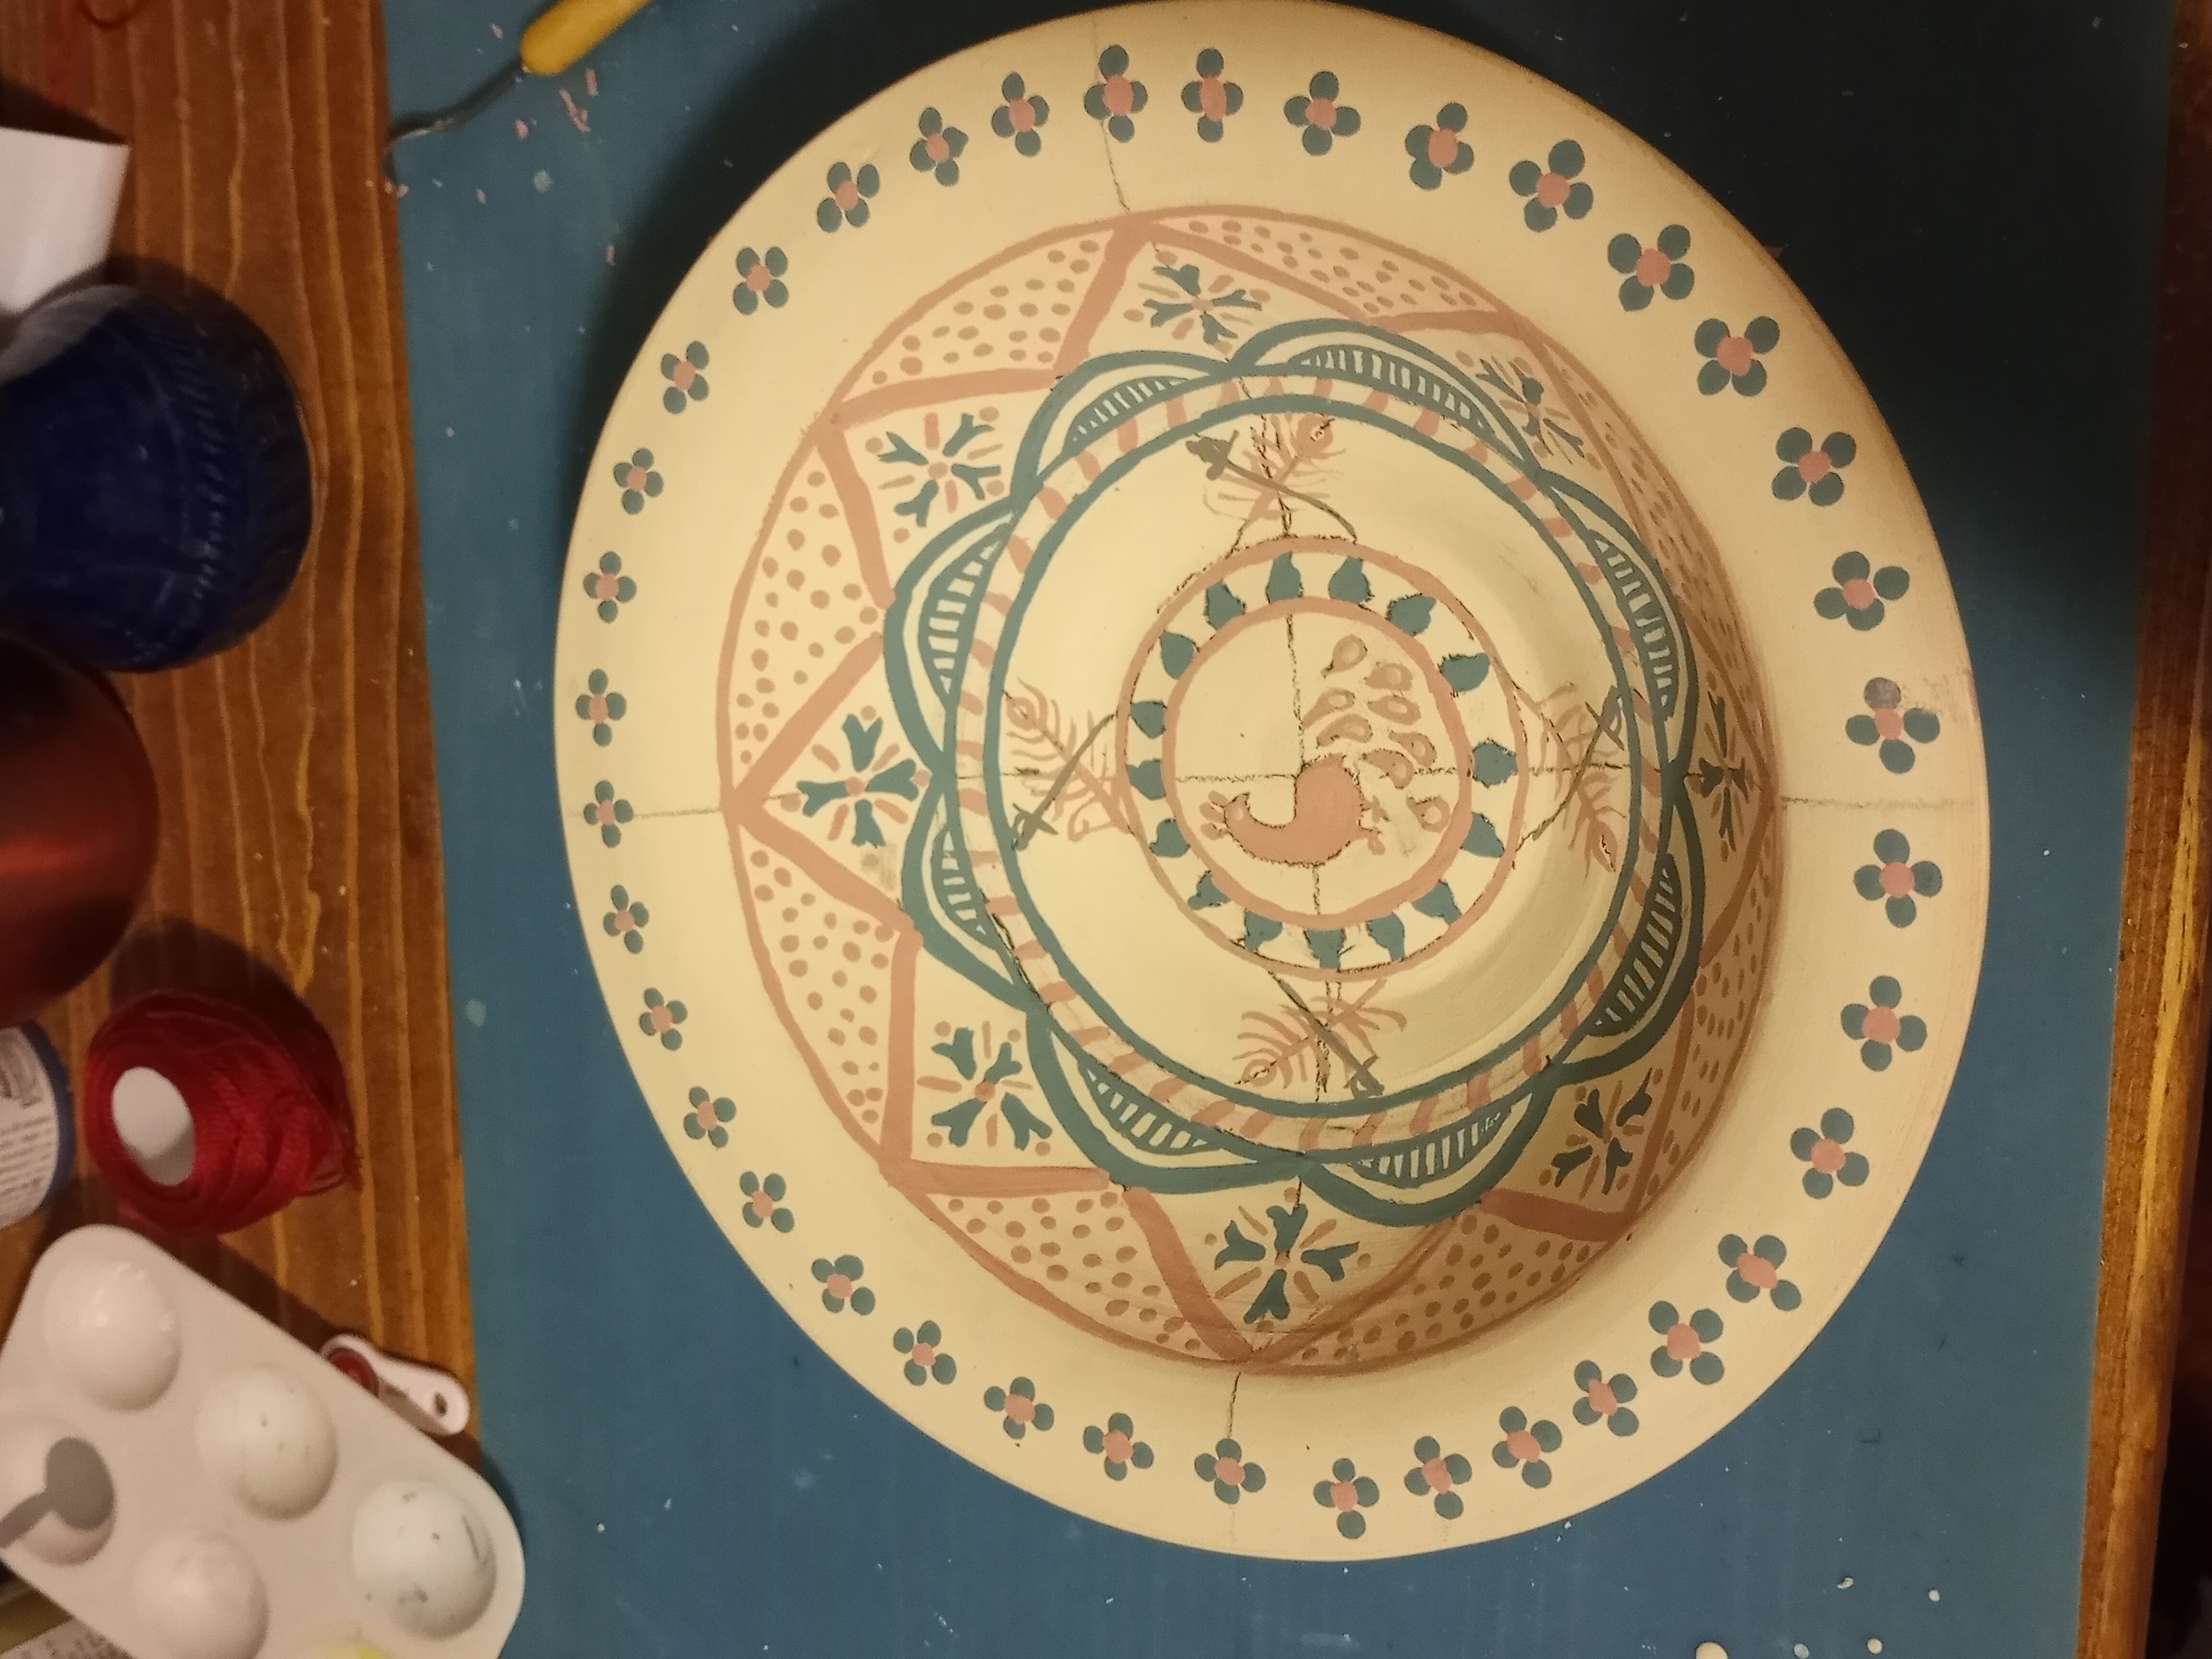
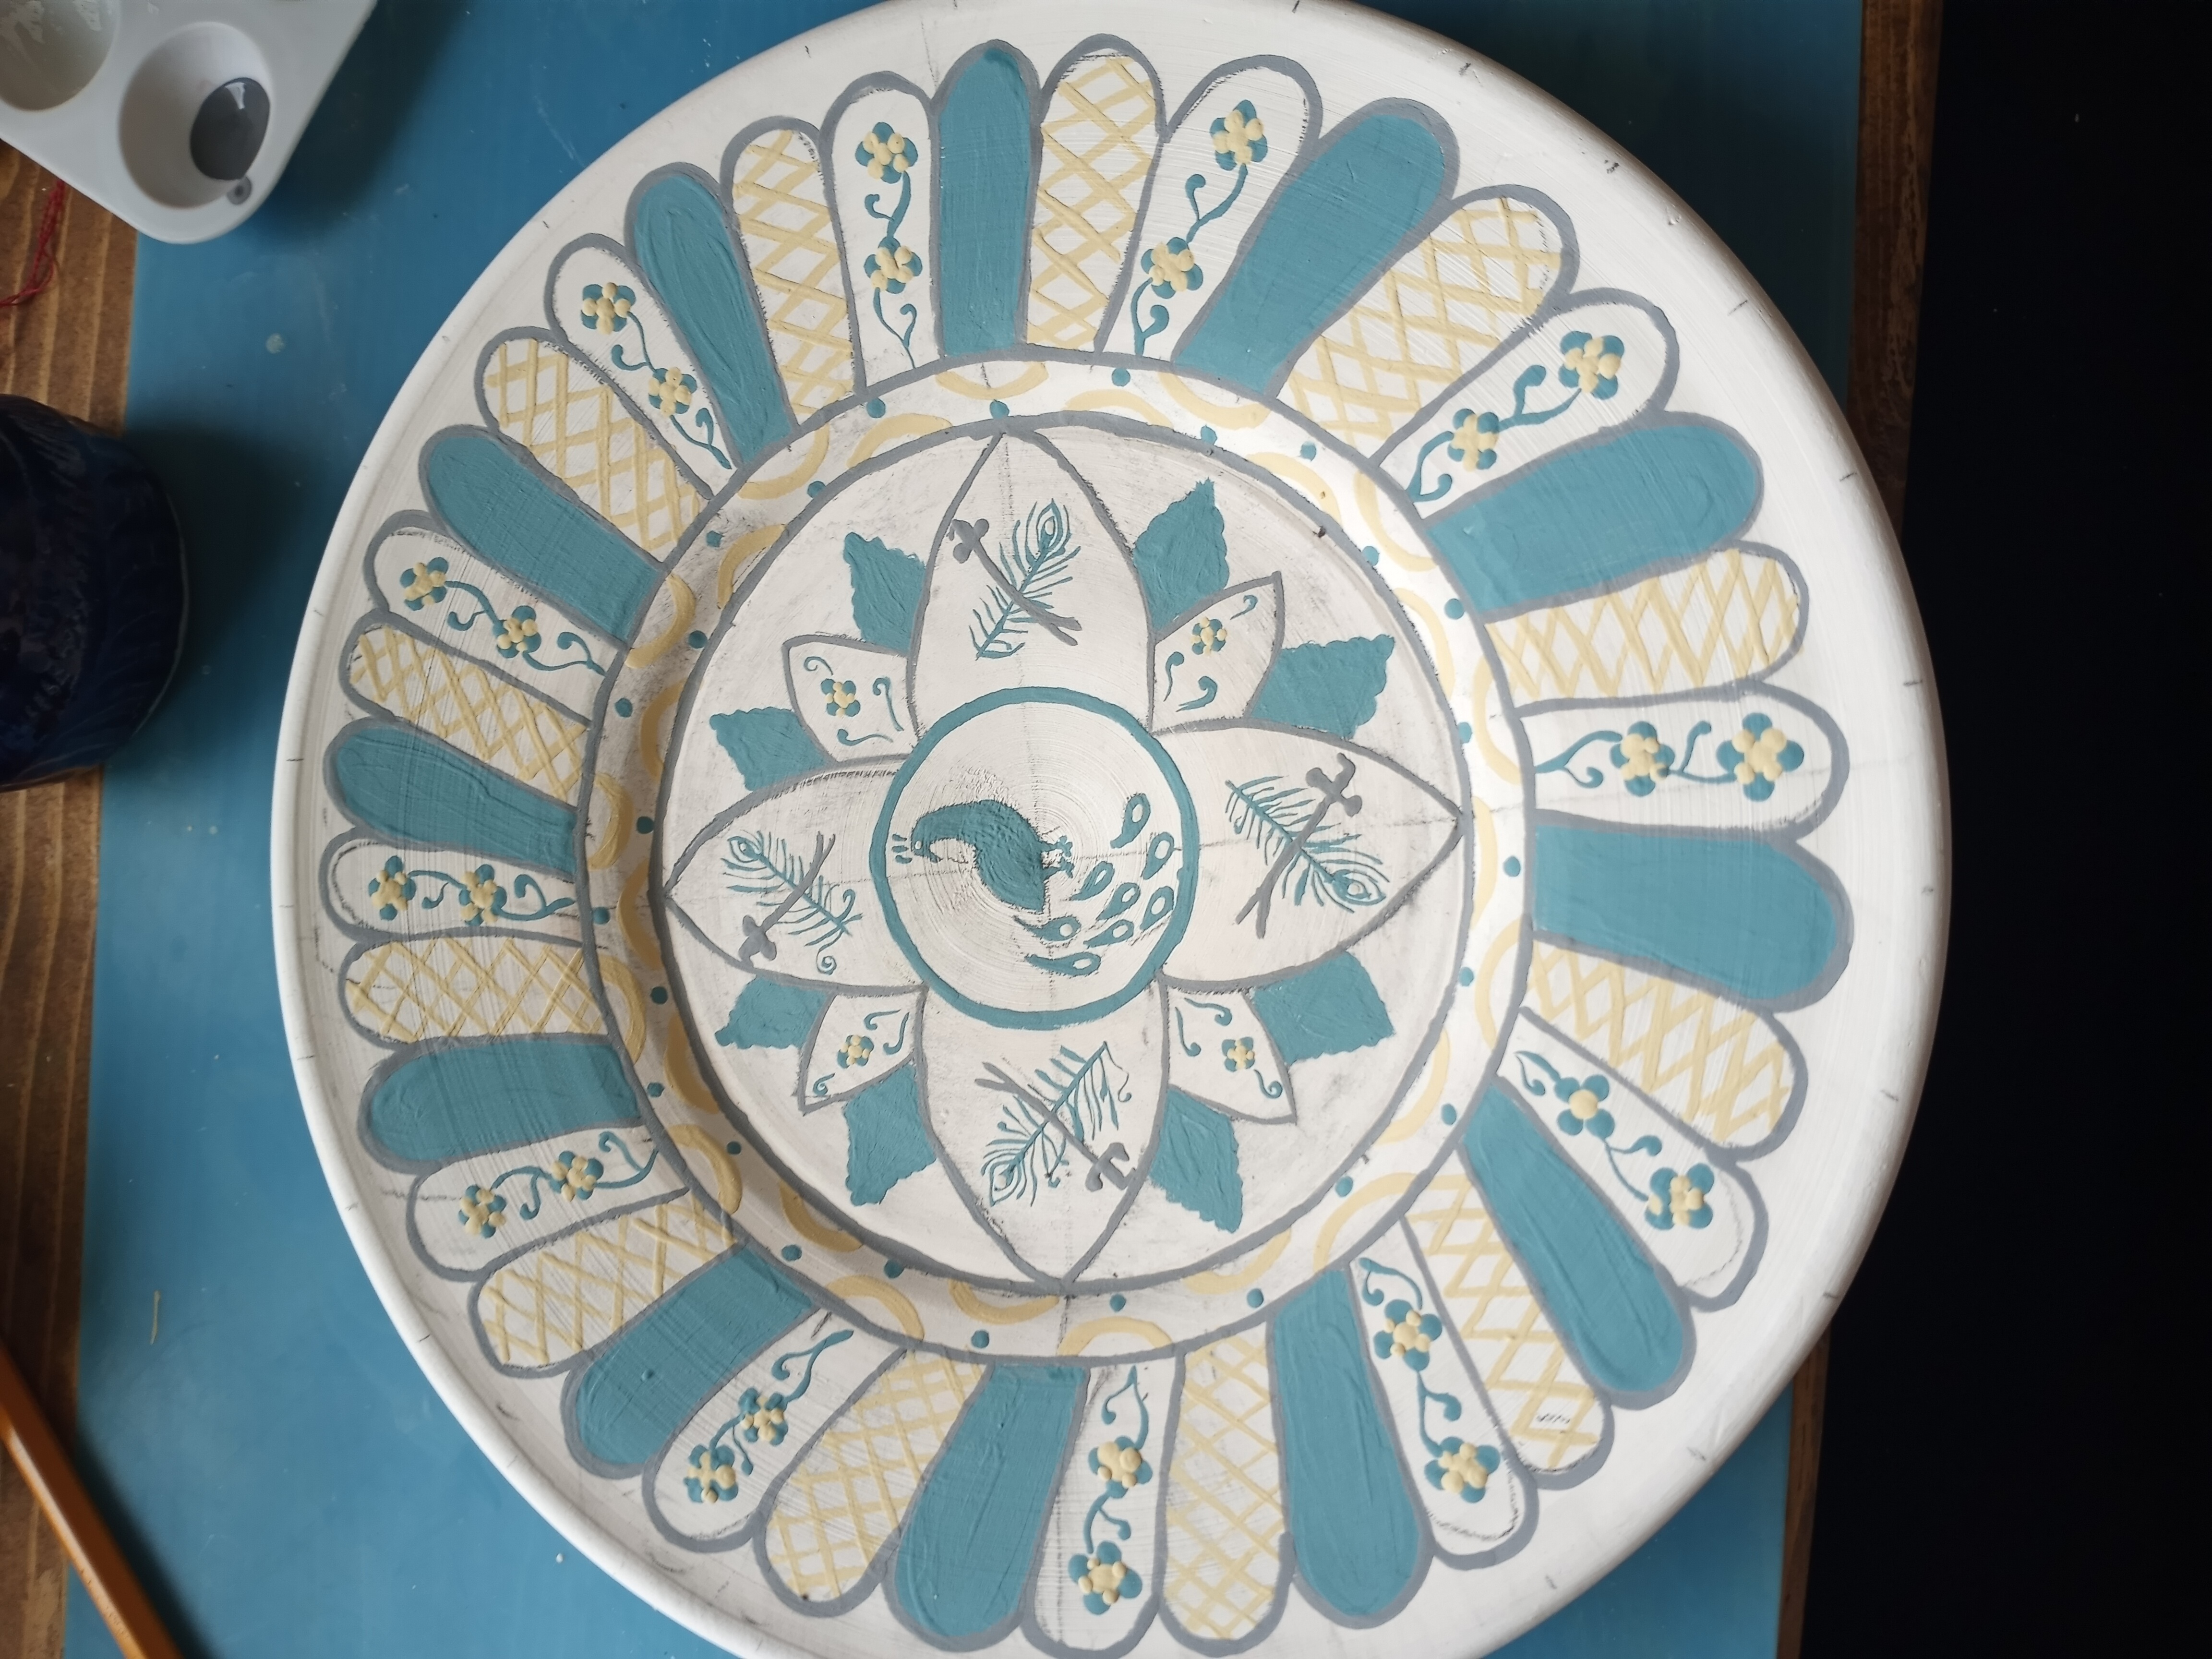
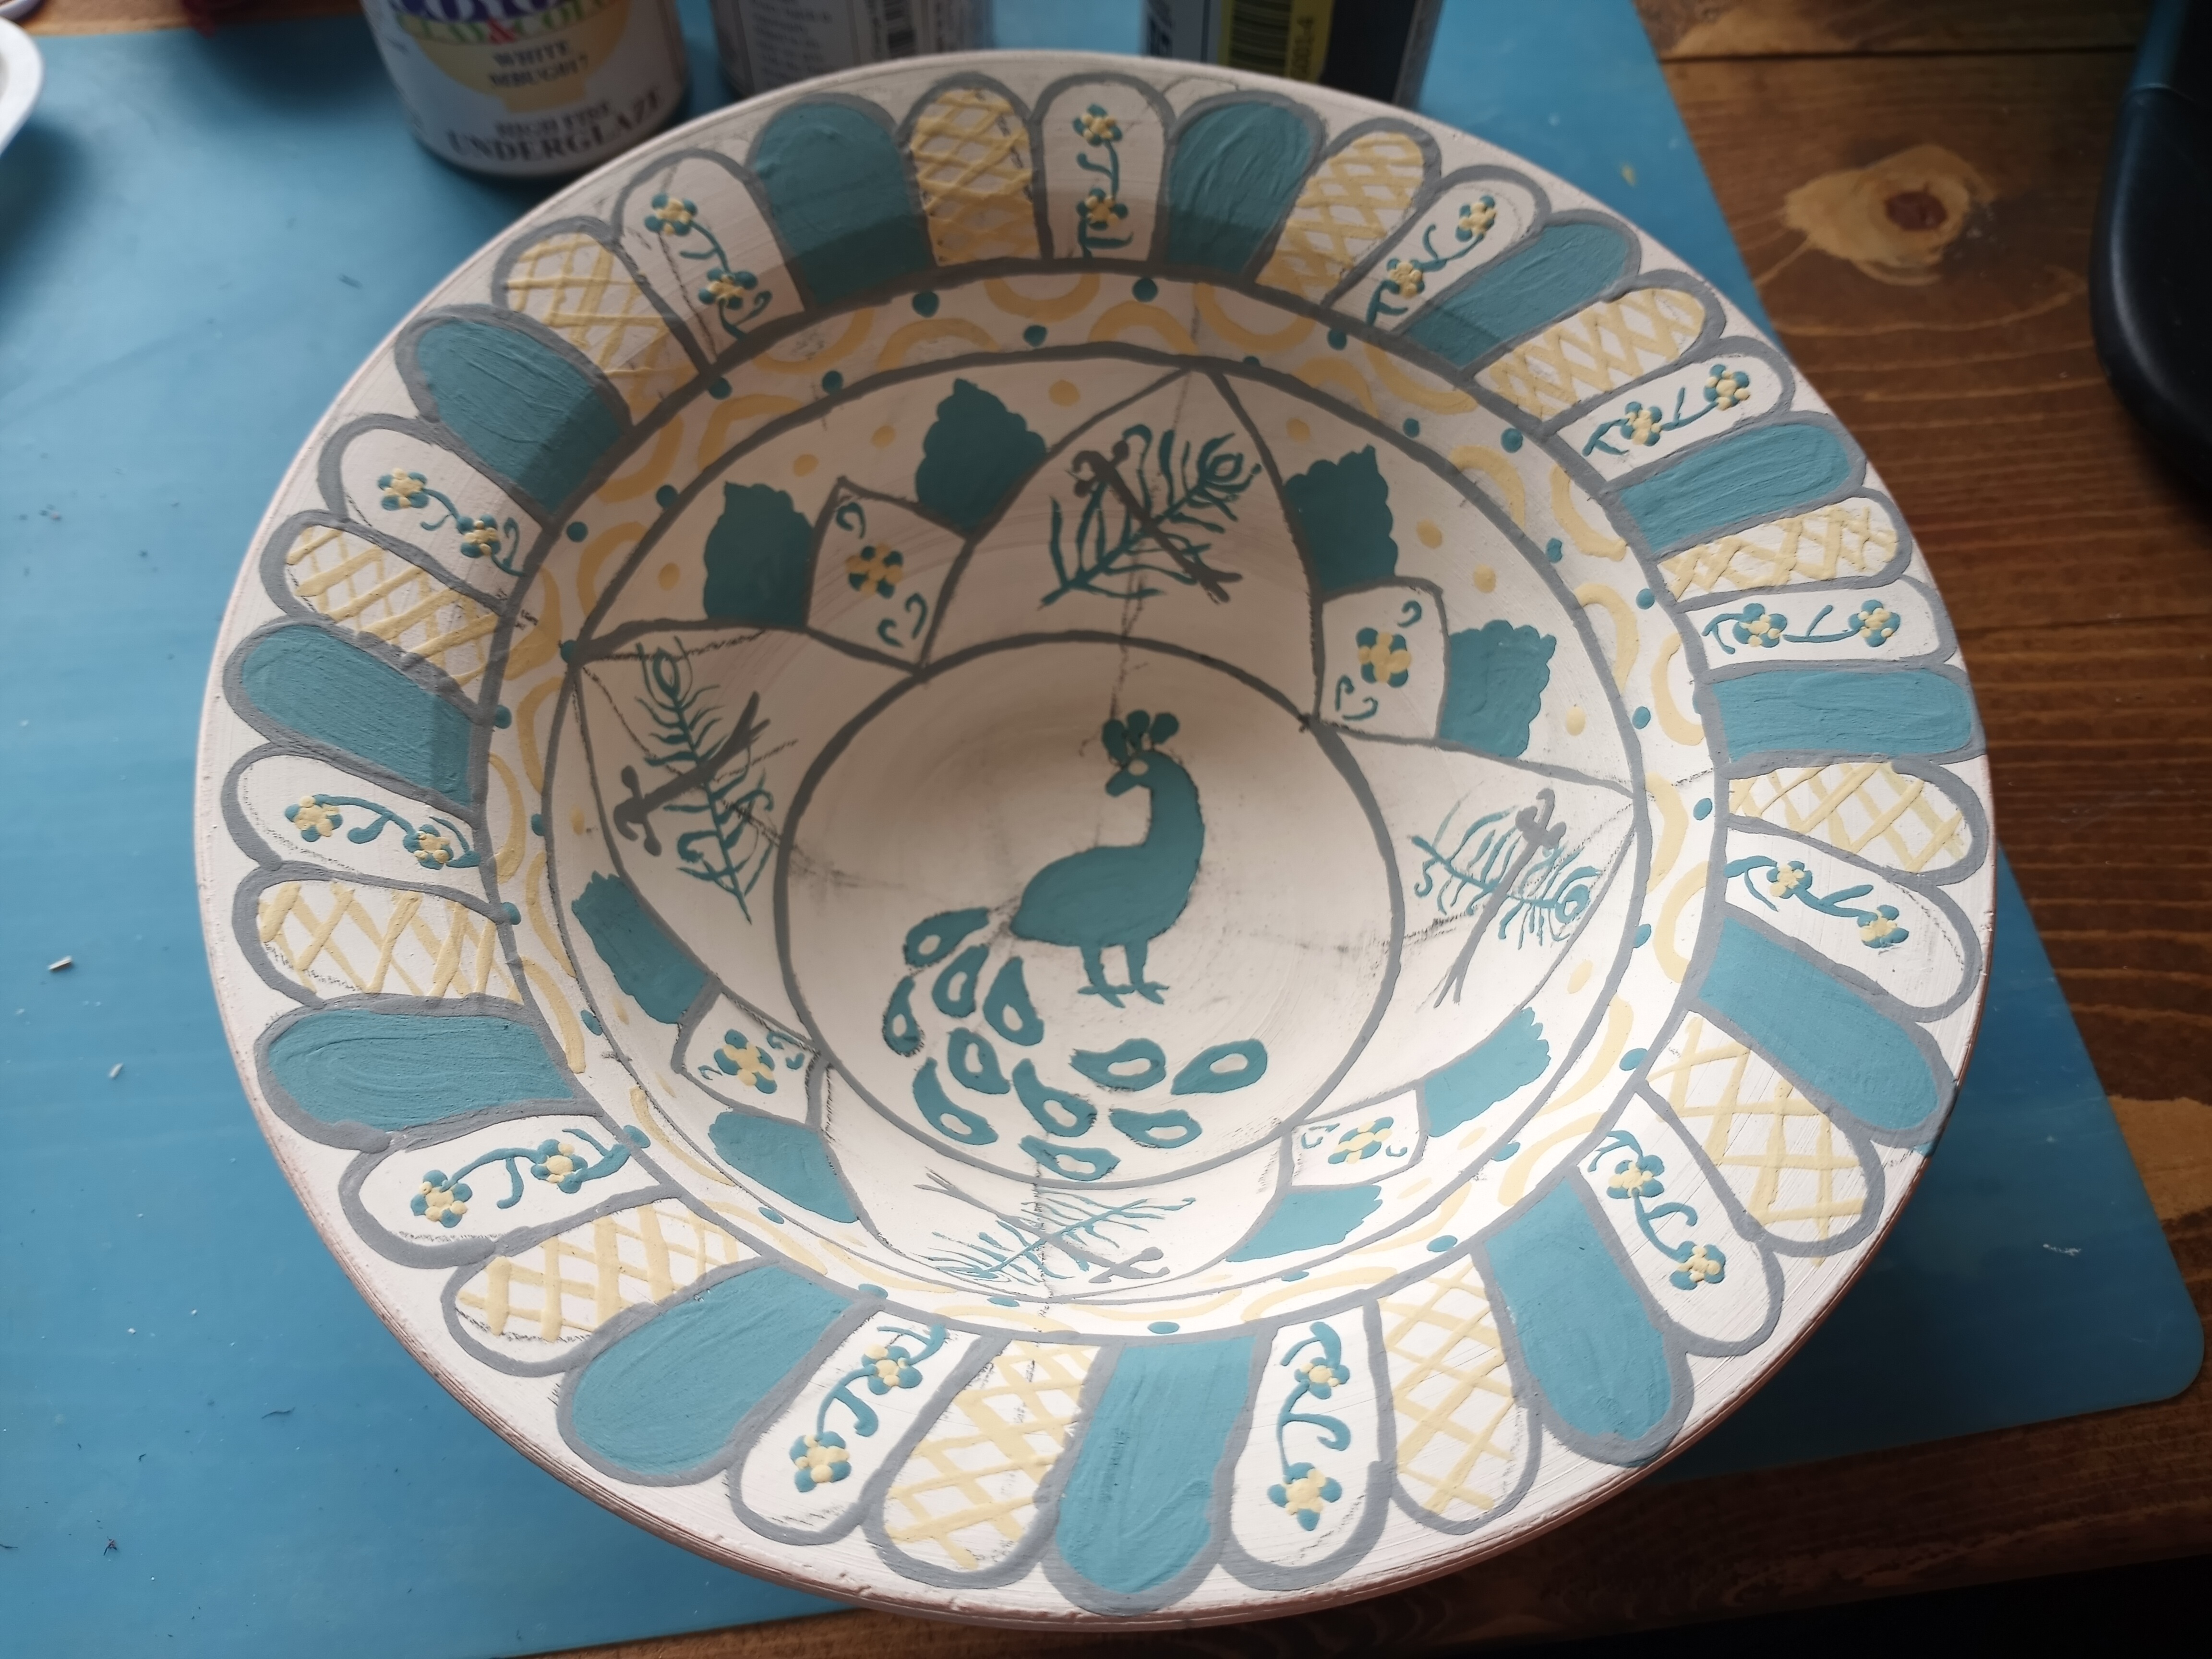
For the final firing I use a clear coat over the piece to provide protection and seal the piece and then into the kiln and time to wait. I admit this one was nerve wracking as each piece took me several hours to draw and paint and I wasn’t looking forward to the idea of doing them again. There is a saying in our local pottery studio to not fall inlove with a piece until it is out of the final fire and cooled. I can say that was hard with these.
Luckily all turned out great and, while I didn’t win the competition with them I finally have some plates and bowls what I made and am proud of.
